How to Blend Acrylic Paint Smoothly Before It Dries
A reliable wet-on-wet method for soft transitions, three ways to slow drying while you work, and how to repair a blend that has already dried into a hard band.
At a glance
Brushes and materials
- Two soft flat brushes, 3/4 to 1 in
- Palette and two water jars
- Rag or paper towels
- Small spray bottle of water
- Retarder or slow-drying medium (optional)
- Low-tack painter's tape
Blending acrylics is a race against drying. A thin layer is touch-dry in roughly 10 to 20 minutes, and the paint starts to turn tacky well before that. Blend while it is fully wet and the colors melt together. Keep brushing once it has gone sticky and the paint drags, lifts and leaves streaks or a hard band.
So learning how to blend acrylic paint is mostly about preparation and timing: enough paint on the surface, a join worked straight away, and the sense to stop and let it dry. The method here is wet-on-wet blending, followed by three ways to buy time and three ways to repair a blend that has already dried.
What you need
- Two colors that mix cleanly, such as ultramarine blue and primary yellow, plus titanium white if you want a lighter blend
- Two soft synthetic flat brushes about 3/4 to 1 in (2 to 2.5 cm) wide: one for laying paint, one kept clean for blending
- Acrylic paper or a small canvas panel
- A palette, two water jars and a rag or paper towels
- Optional: a small spray bottle of water and a retarder (slow-drying medium)
Mix more of each color than you think you need, and bring both to a creamy consistency that spreads without dragging. Paint that is too stiff will not move into its neighbor; the guide to how thick acrylic paint should be describes the feel to aim for.
Why blends turn streaky or hard-edged
Almost every failed blend has one of four causes.
- Too little paint. A thin, scrubbed-on film dries in a few minutes, long before you can work the join.
- Too much time. Painting one whole color area before starting the other means the first edge is already setting.
- A dirty or wet blending brush. A brush full of the darker color drags it across the lighter one. A dripping brush floods the paint and leaves pale, patchy marks.
- Overworking. Brushing paint that has turned tacky pulls it up in ragged patches.
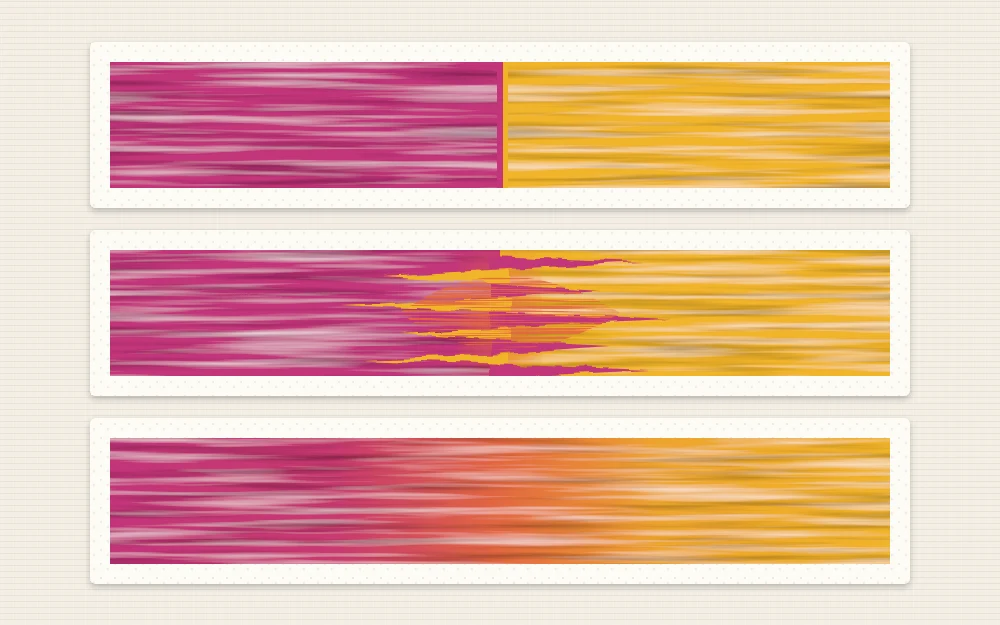
Wet-on-wet blending, step by step
- Lay both colors generously. Paint a band of the first color and, straight away, a band of the second right beside it so the two wet edges touch or overlap slightly. The paint should look wet and glossy, not thin and matte.
- Pick up the clean brush. Dip the second flat in water, then press it on the rag until it is only damp.
- Work the join. Brush along the meeting line in short back-and-forth or zigzag strokes, crossing from one color into the other and back. Use light pressure and let the tips of the bristles do the work.
- Wipe the brush often. Every few strokes, wipe it on the rag. If it has picked up a lot of paint, rinse it, press it nearly dry and continue.
- Widen the transition. Move the zigzag a little farther into each color so the mixed zone spreads and the change becomes gradual.
- Smooth and stop. Finish with a few long, feather-light strokes in one direction along the blend. Then leave it alone and let it dry.
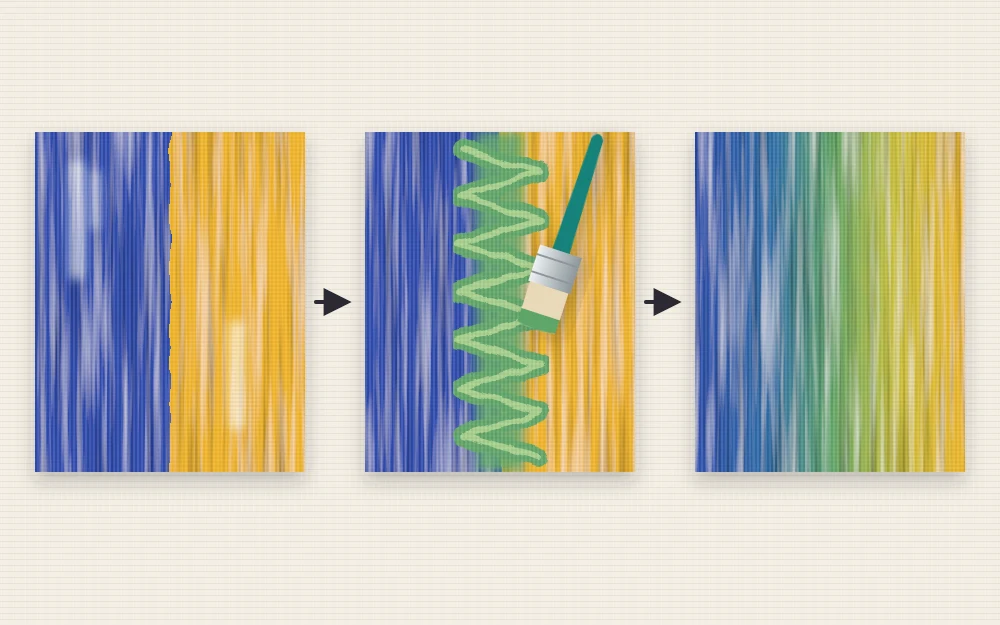
If the brush starts to drag or the surface loses its shine, the paint is setting. Stop there, because more brushing will only make it worse.
Three ways to buy more time
Mist the surface lightly
A fine mist of clean water on the surface just before you paint, or over wet paint from about 12 in (30 cm) away, slows drying for a minute or two. Keep it light. Visible droplets leave pale spots, and heavily watered acrylic can dry to a weak, patchy film on canvas.
Add a little retarder
A retarder, also sold as slow-drying medium, keeps paint workable for longer. Mix only a small amount into each color on the palette and follow the product label for the maximum. Too much leaves the paint soft and sticky for a long time.
Work in small sections
This is the most dependable aid and it costs nothing. Instead of covering a whole surface and then blending, paint and blend a strip about a hand’s width at a time, keeping one wet edge to continue from.
Fixing a blend that has already dried
A hard band is not a ruined painting. Acrylic can be painted over as soon as it is dry, so you have three options.
- Glaze a transition. Thin one of the two colors with glazing medium until it is transparent and brush it across the band, fading it out with a clean damp brush. Let it dry and repeat. Two or three glazes soften most hard lines.
- Dry-brush a transition. Pick up a little undiluted paint, wipe most of it off on a paper towel and skim the brush lightly across the join so broken color bridges the two sides.
- Repaint the join. Mix both colors again, lay fresh wet paint a little way to each side of the line and blend only that strip wet-on-wet. Acrylics usually dry slightly darker than they look wet, so test your new mix on scrap and let it dry before you judge the match.
Practice strip: two colors on paper
Try the method on paper before you use it in a painting. Tape down a strip of acrylic paper about 4 x 8 in (10 x 20 cm).
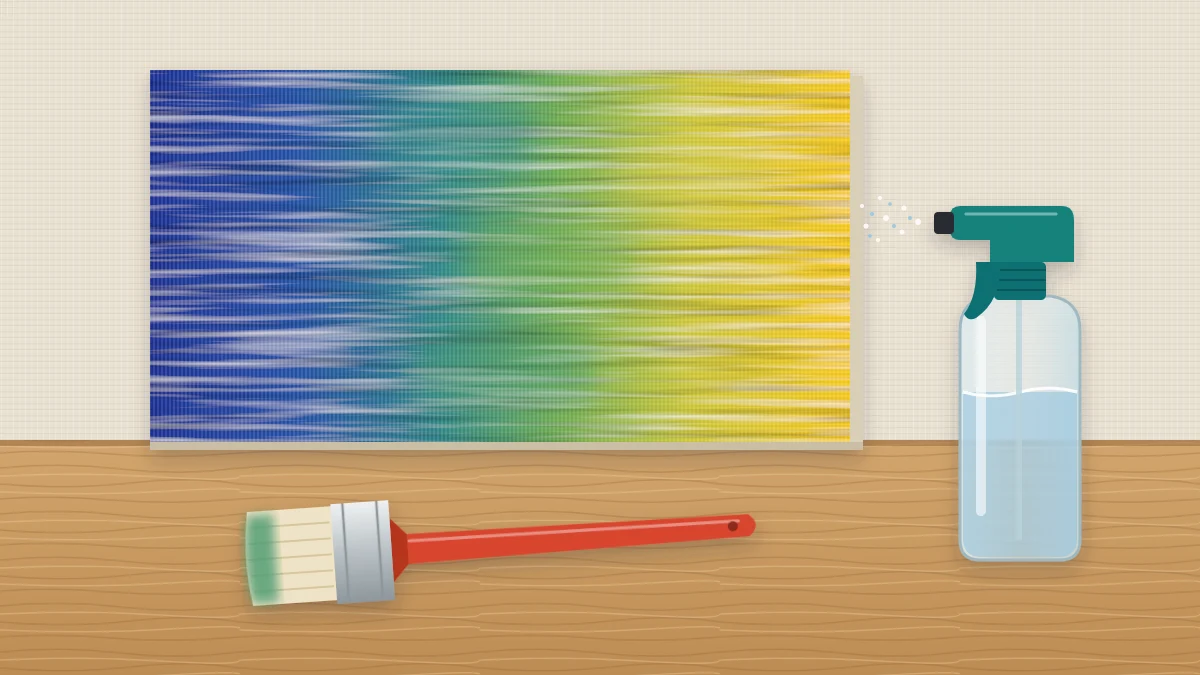
- Paint the left half blue and the right half yellow, quickly and generously, with the edges touching in the middle.
- Blend the join with the clean damp brush as described above. A band of green will appear between them, which is what should happen.
- Let it dry and look at it from arm’s length. Note where it is streaky or banded.
- Repeat on a new strip, changing one thing: more paint, a drier blending brush or a faster start.
Three or four strips are usually enough to feel the difference between wet, tacky and too late.
Where to use blending next
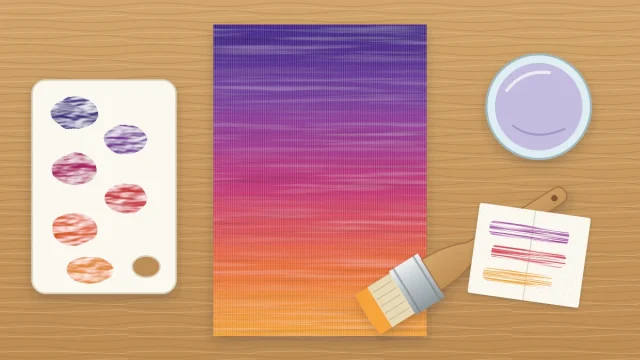
The natural next step is a full fade across a surface, built from several premixed steps instead of two colors. The tutorial on painting a smooth gradient walks through it band by band.
After that, put the skill to work in a picture. A daytime sky is the classic first use, with a deeper blue at the top fading toward the horizon, and the lesson on painting a sky with soft clouds uses exactly this wet-on-wet method.
Frequently asked questions
Why does my acrylic paint dry before I can blend it?
Usually the layer is too thin or the area too large. A scant film of acrylic can set in a few minutes, especially in a warm or drafty room. Put down more paint, blend one small section at a time and start working the join immediately instead of finishing each color area first.
What is the best brush for blending acrylic paint?
A soft synthetic flat or filbert works well, because the bristles spread paint without leaving deep grooves. Keep one brush only for blending and use it clean and barely damp. Stiff or worn brushes tend to leave visible streaks, though they are handy for dry-brushed transitions over dried paint.
Can I blend acrylic paint after it has dried?
Not by re-wetting it, since dried acrylic does not soften again with water. You can soften a hard join by brushing thin transparent glazes over it, by dragging a nearly dry brush with a little paint across it, or by repainting a narrow strip with fresh wet paint and blending that.