Acrylic Texture Techniques: 7 Simple Ways to Add Surface Interest
Seven low-cost ways to add texture to an acrylic painting, from thick brush strokes and palette knife work to sponging, scratching, spattering and combing, with notes on gel medium and drying times.
A painting can have good color and sound drawing and still look flat, because every part of it was applied in the same smooth way. Changing the surface itself, so that some areas are thick, rough, speckled or scratched, is often what makes it come alive.
The seven acrylic texture techniques below need almost nothing you do not already own: a brush, a palette knife, a sponge, some scrap paper and a piece of card. Try each one on a spare sheet before using it in a painting.
Before you start
Use heavy body or thick student-grade paint for anything raised; fluid paint levels out and loses the marks. Work on a canvas panel or heavy acrylic paper taped to a board, since thin paper buckles under thick paint. Cover the table and wear old clothes, because dried acrylic does not wash out of fabric.
Most of these methods look best over a dry base color that contrasts with the texture color, so that the lower layer shows through the gaps.
Thick paint: brush and palette knife
1. Impasto brush strokes
Impasto is paint applied thickly enough to hold the shape of the stroke. Load a stiff flat or filbert generously with undiluted paint, lay it down in one confident movement, and lift off. Do not go back and smooth it. The ridges catch light and cast tiny shadows.
Suits: flower petals, clouds, foam on waves, the brightest highlights.
2. Palette knife spreading and scraping
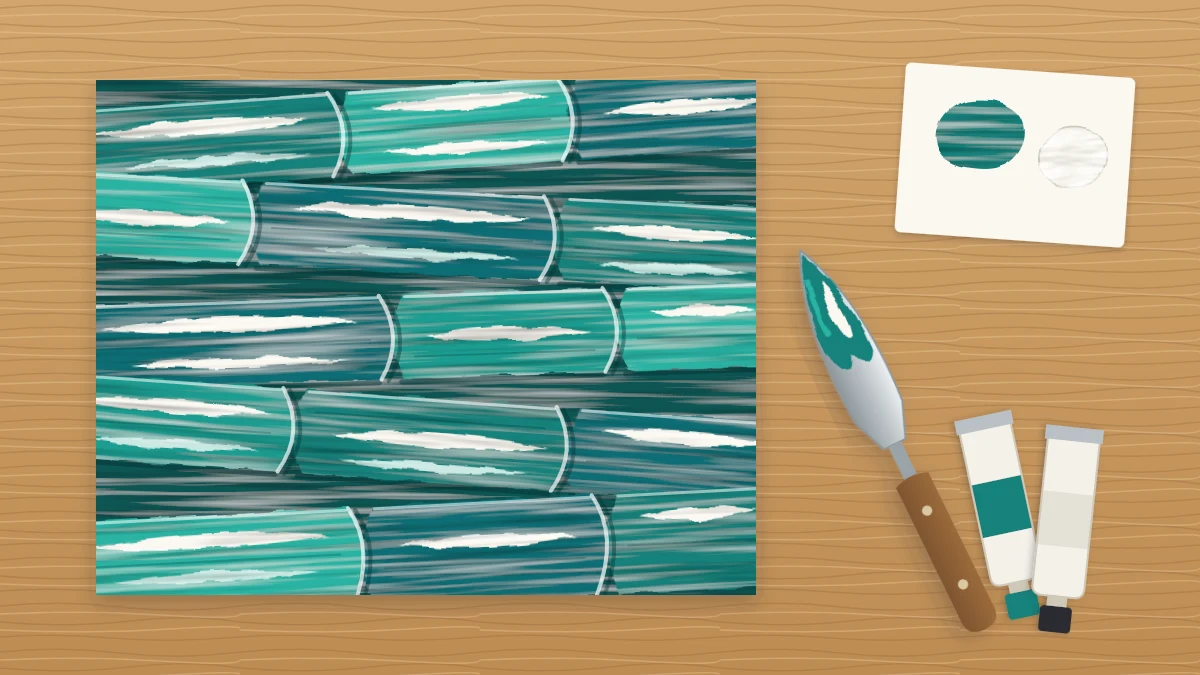
A palette knife is a blunt mixing and spreading tool. Scoop paint onto the underside of the blade and spread it as you would soft butter for a smooth, slab-like passage with crisp edges. Or scrape the blade firmly across wet paint to leave a thin, broken film that shows the layer below.
Suits: rocks, walls, mountains, bold abstract shapes.
Dabbing and pressing
3. Sponging
Tear a small piece from a kitchen or natural sponge, dampen it and squeeze it out well. Dip it lightly in paint, tap the excess onto the palette, and dab the surface, turning the sponge so the pattern does not repeat. It is a quicker, coarser relative of stippling with a brush.
Suits: foliage, clouds, stone, mottled backgrounds.
4. Pressing and lifting with crumpled paper or cloth
Brush on an even layer of slightly thinned paint. While it is wet, press a crumpled paper towel, a piece of scrap paper or a rag into it and lift straight up. The creases pull paint away in an irregular, veined pattern. You can also do the reverse: coat the crumpled paper with paint and print it onto a dry surface.
Suits: old plaster, rock faces, leafy backgrounds, underlayers.
Marks made in wet paint
5. Scratching with the handle end
This is sometimes called sgraffito. Paint a layer over a dry, contrasting color, then draw into the wet paint with the end of the brush handle. The line reveals the color underneath. Work quickly, since the paint has to be wet, and wipe the handle after every few lines.
Suits: grass blades, twigs, hair, whiskers, wood grain, lines in abstract work.
6. Combing with a notched card
Cut a row of small notches into the edge of a piece of stiff card. Spread a fairly thick, even layer of paint and pull the card through it in a straight or wavy path. The teeth leave parallel ridges, much like a scratched line repeated many times.
Suits: water ripples, plowed fields, fabric, decorative bands.
Fine speckle: spattering
7. Spattering with a stiff brush
Thin a little paint with water to the consistency of milk. Load a stiff brush or an old toothbrush, hold it a hand’s width above the surface, and pull a finger or a piece of card across the bristles toward you so the paint flicks forward. Less paint and more distance give finer dots.
Suits: sand, sea spray, stars, snow, speckled stone.
Tip
Spatter travels farther than you expect. Mask the parts of the painting you want to keep clean with scrap paper, and protect the table around it.
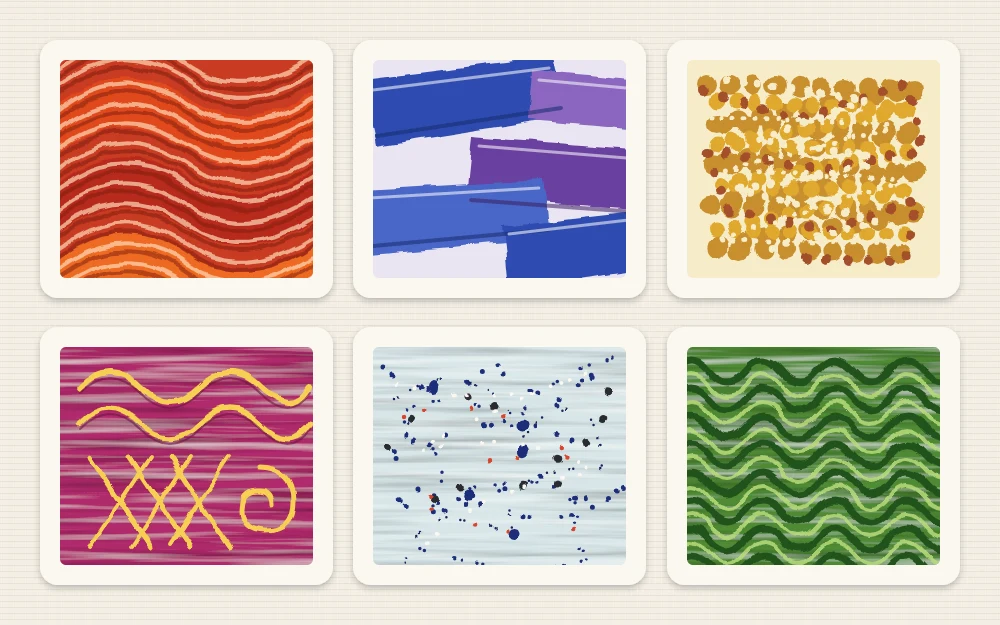
Quick comparison
| Technique | Tool | Paint |
|---|---|---|
| Impasto strokes | Stiff brush | Thick, undiluted |
| Knife work | Palette knife | Thick, undiluted |
| Sponging | Torn sponge | Creamy |
| Press and lift | Crumpled paper or cloth | Slightly thinned |
| Scratching | Brush handle | Creamy, wet |
| Combing | Notched card | Thick, wet |
| Spattering | Stiff brush | Thinned like milk |
Thicker texture without using up paint
Building real height from paint alone empties tubes quickly. Two acrylic products do the bulk of the work instead:
- Gel medium is essentially thick acrylic without pigment. Mix it into paint to add body while keeping the color fairly strong. It looks milky when wet and dries clear.
- Modeling paste is an opaque white paste. Spread it with a palette knife, shape it or comb it, let it dry, and paint over it. Mixed into paint, it lightens the color.
Good to know
Follow the product label for how thickly a paste or gel can be applied in one layer. Scrape leftovers onto a paper towel and put them in the trash; do not rinse lumps of paint or paste down the drain.
Let thick paint dry longer
A thin layer of acrylic is touch-dry in roughly 10 to 20 minutes. Thick paint is different. A raised stroke skins over on the outside while staying soft inside, and a heavy knife passage or a paste layer may need several hours or overnight. Leave the work flat and resist testing it with a finger.
If you need to paint over a textured area, wait until it is firm all the way through, or the new layer will drag and tear the surface.
Where to use texture, and where to hold back
Texture draws the eye, so put the strongest of it where you want attention and keep other areas quiet. A smooth sky makes a knife-painted cliff look rougher. Foreground objects can carry more texture than distant ones, which helps the sense of depth.
For a lighter touch over a dry layer, the dry brush technique gives a broken, scratchy texture with almost no paint. And if you want a low-pressure way to try all seven methods, these abstract painting exercises give you somewhere to use them without worrying about a subject.
Frequently asked questions
What can I add to acrylic paint to make it thicker?
Gel medium and modeling paste are made for this. Gel medium adds body and dries clear, so the color stays fairly strong. Modeling paste is white and opaque, builds more height, and lightens paint mixed into it. Follow the label for the maximum thickness per layer.
Do I need a palette knife to add texture?
No. A stiff brush loaded with undiluted paint makes ridged impasto strokes, and a sponge, crumpled paper, a notched card or the end of a brush handle all create texture. A palette knife is inexpensive and useful, but it is one option among several.
How long does thick acrylic paint take to dry?
Much longer than a thin layer. A raised stroke may feel dry on the surface within an hour and still be soft inside. Heavy knife work or paste layers can need several hours or overnight. Leave the painting flat and wait until it feels firm before painting over it.