Acrylic Painting Mistakes: 10 Common Problems and How to Fix Them
Ten problems that spoil early acrylic paintings, from muddy color and streaks to hard blend lines and stiff brushes, each with its cause and fix, plus three dependable ways to correct a painting.
Muddy color, streaks, hard lines where you wanted a soft fade: nearly everyone meets the same handful of problems in their first paintings. Most acrylic painting mistakes come from how fast the paint dries and how much water is on the brush, which means they have clear causes and simple fixes.
Below are ten of the most common problems, each with what is going on and what to do about it, followed by three reliable ways to correct a painting that has already gone wrong.
Color problems
1. Muddy color
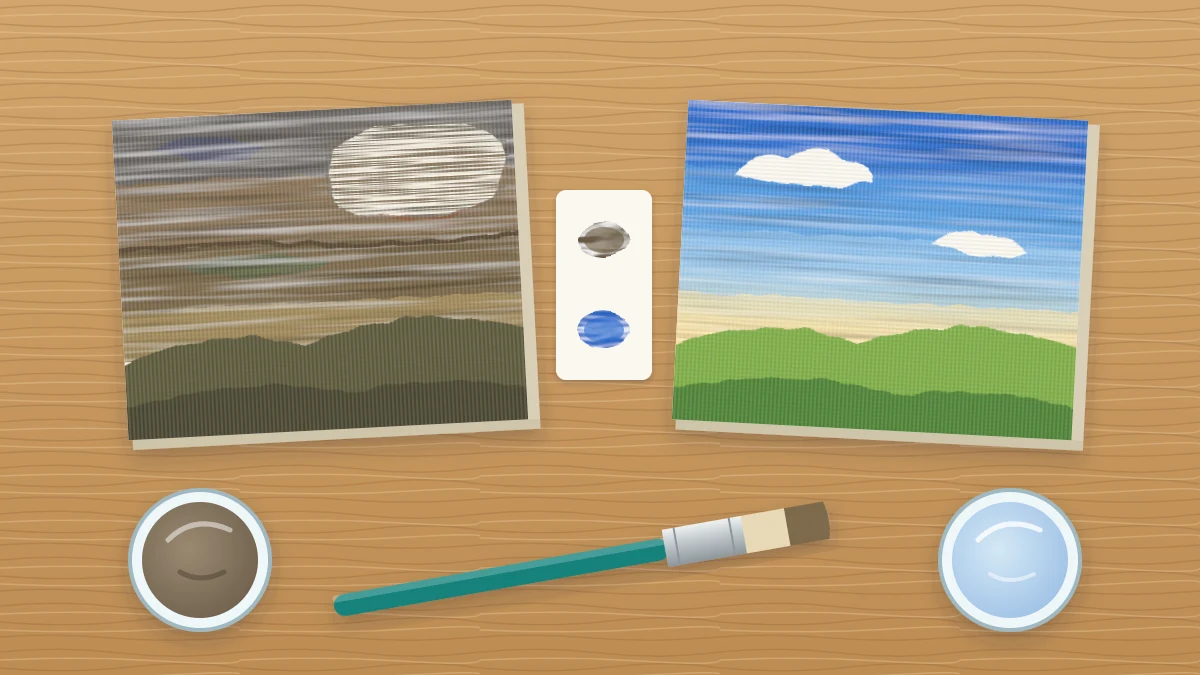
Cause: too many colors stirred together, a brush that was not rinsed between colors, or rinse water that has turned gray-brown and is tinting every mix.
Fix: keep most mixes to two colors plus white. Wipe the brush on a rag, then rinse it, every time you change color. Change the water as soon as it looks cloudy, and keep a second jar of clean water for thinning.
2. Color that dries darker than expected
Cause: acrylic binder is milky when wet and clear when dry, so the paint usually dries slightly darker than it looks on the palette.
Fix: mix a touch lighter than your target. When matching a color already on the canvas, dab a test stroke on scrap paper and let it dry before you commit.
Coverage problems
3. Streaky coverage
Cause: too little paint on the brush, or paint so stiff that the bristles skip across the surface. Scrubbing a thin smear further only makes it worse.
Fix: load the brush generously and loosen the paint to a creamy feel. Lay the color down, smooth it with a few light strokes, and leave it. If it still looks thin, add a second coat once the first is dry.
4. Patchy washes
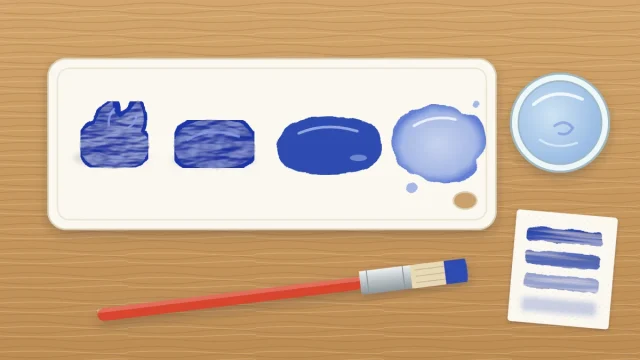
Cause: too much water. Beyond roughly equal parts water and paint, acrylic can dry into a weak, uneven film on canvas, with pale patches and darker rings where the water pooled.
Fix: use less water, or thin with a glazing medium when you want very transparent color. The guide to paint consistency and how much water to add describes what each thickness should look like on the brush.
5. Paint drying on the palette
Cause: small smears of paint in warm or moving air skin over in minutes.
Fix: squeeze out generous blobs, since a mound stays workable longer than a smear. Mist the palette lightly with water now and then, keep it away from fans and direct sun, and put out only the colors you need for the current stage.
Blending and overworking
6. Hard lines where a blend dried
Cause: one color dried before the next reached it, so the join set as a stripe.
Fix: work in smaller sections, apply both colors generously and blend the join right away with a clean damp brush. If the line has already dried, repaint both colors along the join and blend again. The lesson on blending acrylic paint smoothly covers the method step by step.
7. Fiddling with half-dry paint
Cause: a few minutes after it goes on, acrylic turns tacky. Brushing it at that stage tears the surface, lifting paint off in patches and leaving rough holes.
Fix: stop as soon as the brush starts to drag. Let the area dry completely, roughly 10 to 20 minutes for a thin layer, then repaint it.
Tip
When you feel the urge to keep poking at an area, move to a different part of the painting or rinse your brushes. By the time you come back, the paint is dry and safe to work over.
Order and brush care
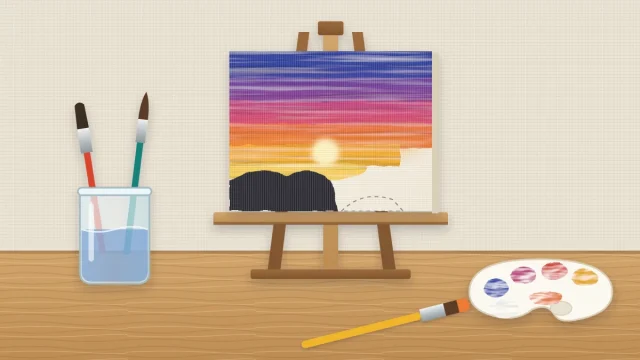
8. Starting with details
Cause: it feels natural to begin with the interesting part, such as a flower center or a tree. Then the background has to be painted around it, leaving halos and wobbly outlines.
Fix: work from large to small. Block in the background and the biggest shapes with a large brush, let them dry, and add details and highlights last. Where one shape overlaps another, paint the one behind first; when you need a crisp boundary, the tutorial on painting clean edges with brush and tape shows how.
9. Ruined brushes
Cause: paint dried in a brush is very hard to remove, especially near the ferrule, where it forces the bristles apart. Brushes left standing on their tips in a jar also bend out of shape.
Fix: never leave a loaded brush sitting out. Rinse it or lay it flat and damp while you use another, and wash every brush with mild soap at the end of the session. The routine for cleaning acrylic brushes so they last takes only a few minutes.
The mindset mistake
10. Giving up too early
Cause: almost every painting has an awkward middle stage. The background is flat, the shapes are rough and nothing has highlights or dark accents yet. It is easy to read that stage as failure.
Fix: treat the middle as unfinished, not bad. Keep going until the darkest darks and lightest lights are in place, then judge it from across the room. Many paintings come together in the last ten minutes.
Three ways to correct a painting
Because dry acrylic is water-resistant and takes new paint well, corrections are usually straightforward.
Let it dry and paint over
For small errors, wait until the area is fully dry and repaint it with paint of a creamy consistency. Two thin coats cover better and more smoothly than one thick one.
Block out an area
When a dark or strongly colored shape is in the wrong place, cover it first with an opaque coat of titanium white, or white tinted toward the surrounding color. Let that dry, then paint the correct color on top. Without the blocking coat, the old shape tends to show through light or transparent colors.

Wipe while wet
If you spot the problem within a minute or two, wipe the wet paint away with a damp cloth or paper towel, using a clean section for each pass. This works well over a dry underlayer, which stays put. Dry the spot before repainting.
A quick check before each session
- Two jars of water, one for rinsing and one kept clean
- A rag or paper towel within reach for wiping brushes
- Generous blobs of paint, not smears
- The largest brush that suits the first stage
- A plan for the order: background, main shapes, details
Frequently asked questions
Can you paint over acrylic paint mistakes?
Yes. Once an acrylic layer is fully dry it stays in place, so you can cover it with new paint. For dark or bright errors, apply an opaque coat of white or a light neutral first, let it dry, and then repaint. Thin coats give a smoother result than one heavy coat.
Why do my acrylic colors look muddy?
Mud usually comes from mixing three or more colors, blending over an area again and again, or painting with dirty rinse water. Limit most mixes to two colors plus white, clean the brush between colors, and replace cloudy water. Letting a layer dry before adding the next also keeps colors separate.
How do I remove dried acrylic paint from a canvas?
Dried acrylic does not rewet, so on a painting it is far easier to cover it than to remove it. Smooth any raised ridges gently if they would show, then paint an opaque coat over the area and continue. Only wet paint can be wiped away with a damp cloth.