Acrylic Painting for Beginners: Where to Start
A plain orientation to acrylics: what the paint is, why it suits a first-time painter, the few habits it asks of you, a small first setup and a sensible order for your first three sessions.
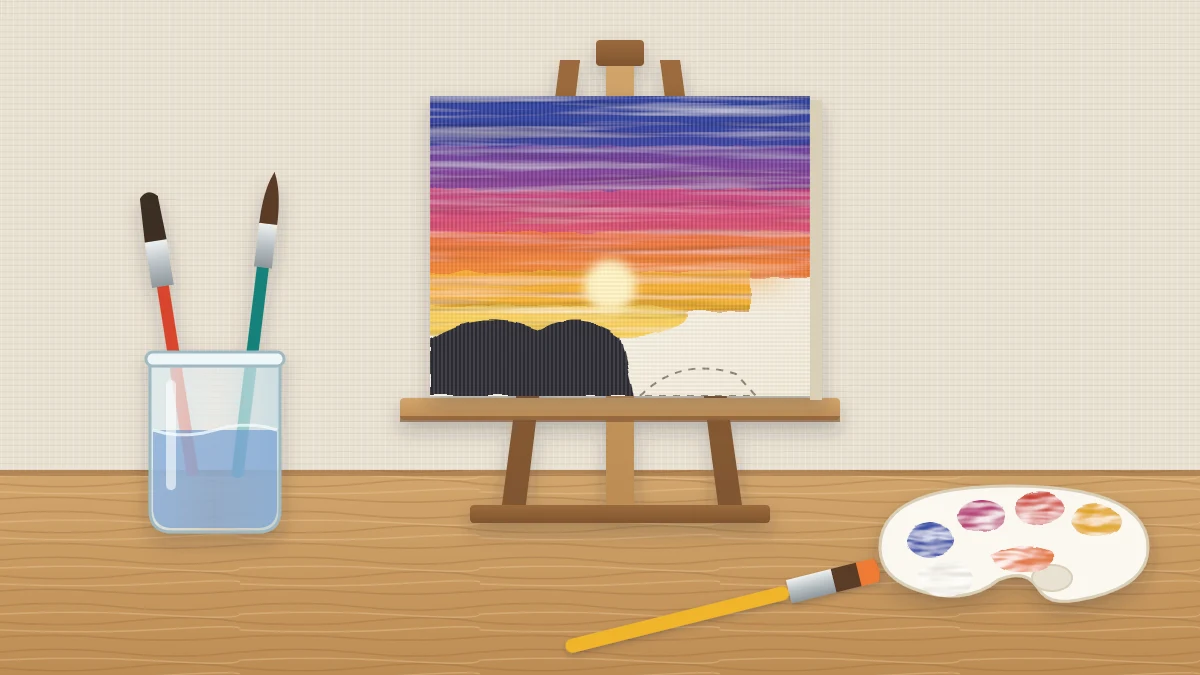
Acrylic paint is one of the friendliest ways into painting: it thins with water, dries in minutes and lets you paint straight over anything you do not like. If you are looking at acrylic painting for beginners and wondering how much you need to buy or know before you start, the honest answer is very little.
What helps most is a clear picture of how the paint behaves and a sensible order for your first few sessions. This guide gives you both, and points you to the detailed lessons when you are ready for them.
What acrylic paint actually is
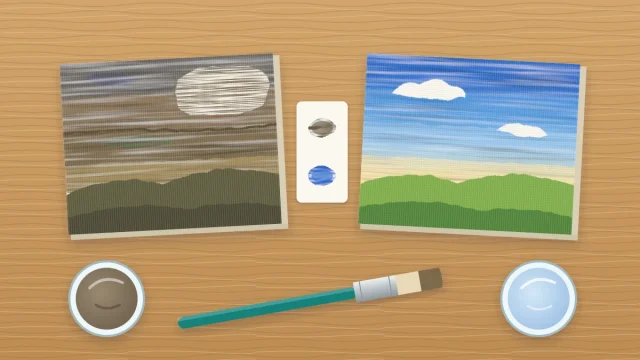
Acrylic paint is pigment, the colored powder, held in a water-based acrylic binder. While the paint is wet, the binder is milky and can be thinned or washed away with water. As the water evaporates, the binder turns clear and locks the pigment into a flexible film.
Once that film has formed, it is water-resistant. You cannot rewet it and move it around the way you can with watercolor. A thin layer is touch-dry in roughly 10 to 20 minutes; thick paint takes much longer.
Those two facts, fast drying and a film that stays put, explain almost everything about how acrylic painting works.
Why acrylics suit a first-time painter
Several things make acrylics forgiving when you are learning:
- Water does the cleanup. You thin the paint with water and wash brushes with water and mild soap.
- You can paint over mistakes. Because a dry layer does not lift, a wrong shape can simply be covered with fresh opaque paint.
- You do not wait long. A background can be dry enough to work over in the time it takes to rinse a brush and mix the next color.
None of this means your first paintings will look the way you imagine. It means each attempt costs little and teaches a lot.
What acrylics ask of you in return
The same fast drying that makes acrylics convenient also sets a few ground rules.
Work in stages. You rarely finish one area completely before moving on. Instead, you lay in the large background shapes, let them dry, then add the next layer on top. Blending has to happen while both colors are still wet, so you blend in small areas and move on.
Keep brushes wet. Paint dried in a brush is very hard to remove. Rinse a brush as soon as you put it down, or leave it lying flat and damp, never propped on its bristles in the jar.
Expect a small color shift. Acrylics usually dry slightly darker than they look wet. Mix a touch lighter than you think you need.
Protect your clothes and table. Dried acrylic does not wash out of fabric, so wear old clothes and cover the table with paper or a plastic sheet.
Good to know
Wipe excess paint off brushes and the palette with a paper towel or rag before rinsing, so less paint goes down the drain. Keep food and drinks off the painting table.
A small first setup
You do not need an easel, a full set of colors or special mediums to begin. A workable first kit is short:
- Student-grade paint in titanium white, a yellow, a red, a blue and one earth brown
- Three synthetic brushes: a 1 in (2.5 cm) flat, a medium filbert or round, and a small round
- A pad of acrylic paper or a couple of small canvas panels, about 8 x 10 in (20 x 25 cm)
- A white plate or plastic palette, two water jars and paper towels
The guide to a simple starter kit of supplies explains each item and what can wait until later.
Set up with the water jars and towels on the side of your painting hand, so you are not reaching across wet paint. Use one jar for rinsing and keep the other clean for thinning.
Your first three sessions
It is tempting to begin with a full picture. You will enjoy that picture more if you spend two short sessions getting to know the paint first.
Session one: swatches
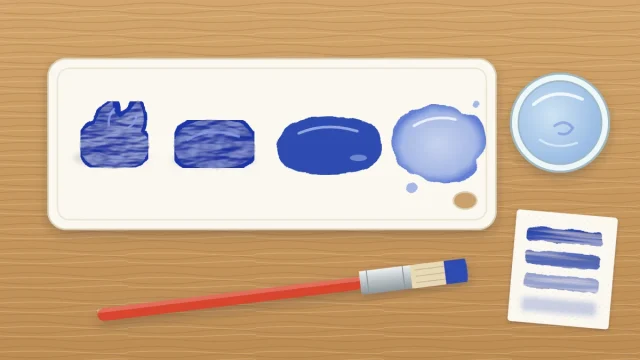
On a sheet of paper, paint a small square of each color straight from the tube. Then paint each one again with a little water added, and again with more. Notice which colors cover well and which stay transparent, and how each looks when dry. This is also the moment to learn how much water to add to your paint, because most early frustrations come from paint that is too stiff or too thin.
Session two: a gradient
Pick one color and white. Paint a band of the pure color across the top of a sheet, a band of white across the bottom, and blend where they meet with a clean damp brush before either dries. Repeat it three or four times. You are practicing speed, brush pressure and how much paint to load.
Session three: a simple sunset
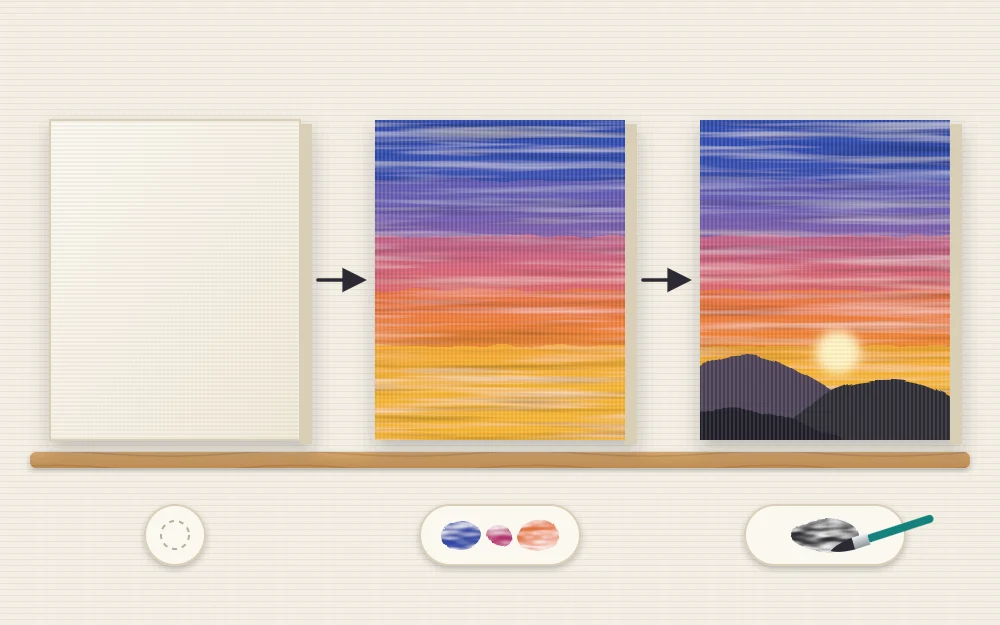
Now put the two skills together. A sunset uses a blended background, a drying pause and a few dark shapes on top, which is the whole acrylic method in miniature. Follow the step-by-step sunset on a small canvas for the colors and the order of work.
Habits worth building early
- Squeeze out enough paint. A blob the size of a large coin is easier to work with than a smear that dries before you use it.
- Start with the biggest brush that fits. Large brushes block in shapes quickly and stop you fiddling.
- Go from general to specific. Background first, main shapes second, details and highlights last.
- Let layers dry. If paint starts to drag or lift, stop, wait a few minutes and come back.
When a painting goes wrong
It will, and that is normal. Colors turn muddy, a blend dries into a hard line, or an area gets streaky. With acrylics, the usual remedy is simple: let the area dry fully, then paint over it.
It helps to recognize the common problems so you can spot the cause, not just the symptom. The list of ten common beginner mistakes and their fixes covers the ones nearly everyone meets in the first month.
Keep your early paintings, even the awkward ones, and date them on the back. A stack of small studies shows your progress more clearly than any single finished canvas.
Frequently asked questions
Is acrylic paint good for complete beginners?
Yes. Acrylics thin and clean up with water, dry quickly and can be painted over once dry, so an error is rarely permanent. The main adjustment is the short working time: you learn to paint in stages and to blend small areas while they are still wet.
Do I need to know how to draw before I start painting?
No. Many first subjects, such as a sunset, a gradient sky or a row of hills, need only a few loose guide marks. Drawing skill helps later with more complex subjects, but you can build it alongside painting by sketching big shapes lightly in pencil or thinned paint.
How long does acrylic paint take to dry?
A thin layer is usually dry to the touch in roughly 10 to 20 minutes, depending on the room and the surface. Thick strokes take much longer, sometimes hours. If you are unsure, wait a little more before painting on top, because half-dry paint can lift.