How to Paint Flowers in Acrylic: Simple Shapes and Brushstrokes
Start each flower as a disc, cup, cone or ball, then add petals and leaves with five simple brushstrokes. Includes a working order, natural green mixes and the two-value trick that stops petals looking flat.
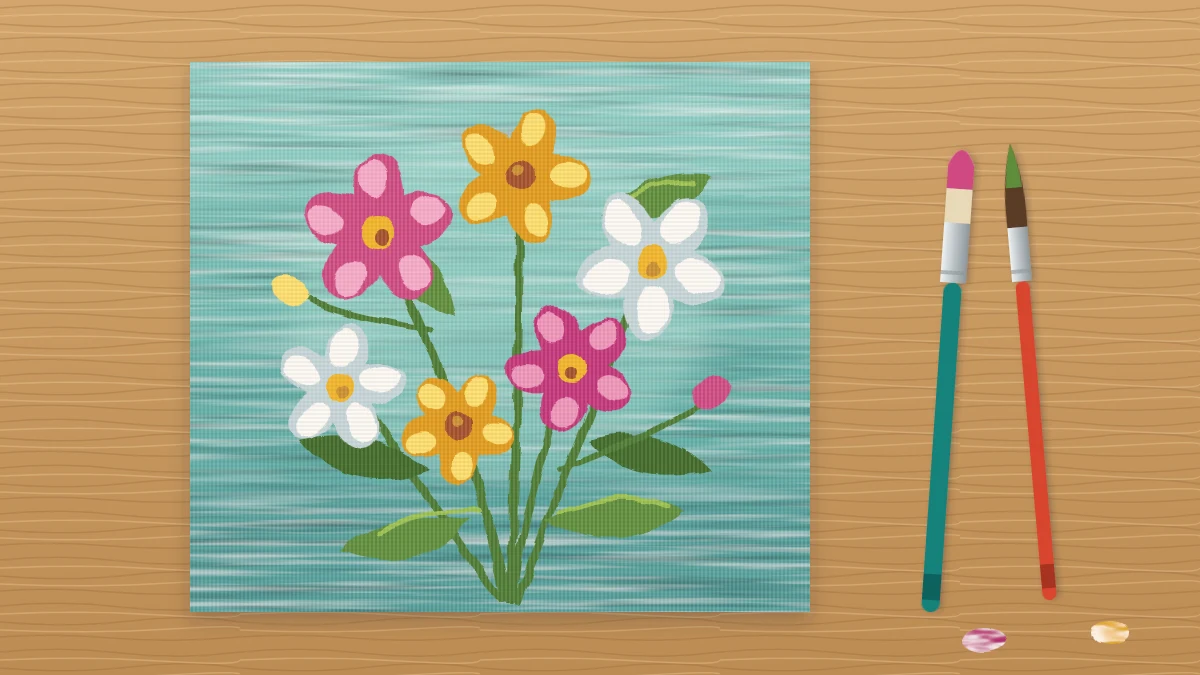
Petals look complicated because you are trying to see dozens of small things at once. Learning how to paint flowers in acrylic gets much easier when you stop counting petals and begin with one big, simple shape for the whole bloom.
What follows is a way of seeing plus a small set of brushstrokes, not a single painting. Once the shapes, the strokes and the working order make sense, you can use them for any flower from your own garden, a jar on the table or your imagination.
Start with the big shape, not the petals
Nearly every flower fits one of four base shapes. Squint at the bloom until the details blur, then decide which one you are looking at.
- Disc: daisies, sunflowers and cosmos. Seen from the front it is a circle; tilted away from you it becomes a flattened oval.
- Cup: tulips, crocuses and poppies seen from the side. Think of a bowl sitting on the stem.
- Cone: lavender, lupine and other spikes, wide at the base and narrow at the tip.
- Ball: roses, peonies and other full, rounded blooms with many layered petals.
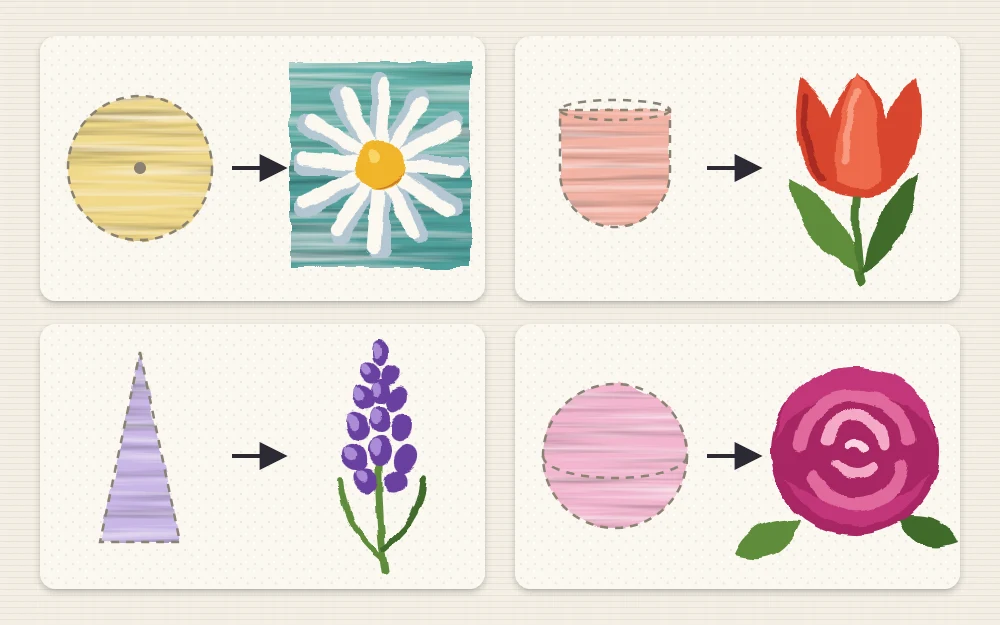
Block in that shape with a mid-value version of the flower color, thinned with a little water so it goes on quickly. At this stage a tulip is just a pink egg and a daisy is a pale oval. That is exactly right. The shape fixes the size, the tilt and the position of the flower before you spend any effort on petals.
Five strokes that make petals and leaves
Practice these on scrap paper for ten minutes before touching the painting. Each one is a single movement, and most flowers need only two or three of them.
- Press-and-lift with a round: touch the tip down, press so the hairs spread, then lift as you pull. You get a teardrop that works for small petals and simple leaves.
- Pulled filbert stroke: lay the rounded tip of a filbert at the outer edge of the flower and pull toward the center, easing off the pressure. Each pull leaves a soft-ended petal.
- Twisted flat stroke: start a flat brush on its thin edge, press down to the full width, then twist back to the edge as you finish. The result is a long leaf with pointed ends.
- Comma strokes: press a round and curl it away in a short curve. Stacked commas build ball-shaped blooms and the small florets on a cone.
- Liner stems: load a liner with paint thinned to the consistency of ink and draw the stem in one continuous pull, letting it bend slightly.
If you are unsure which brush is which, the guide to acrylic paint brushes and their shapes covers what each one does. For flowers, a medium filbert, a small round and a liner are enough to begin.
Tip
Load the brush generously for petal strokes. A half-empty brush skips and tempts you to go back over the stroke, which is how petals turn muddy.
A working order that keeps colors clean
Acrylic covers well once the layer below is dry, so work from the back of the picture to the front.
- Background first. Cover the whole surface and let it become touch-dry, which takes roughly 10 to 20 minutes for a thin layer.
- Leaves and stems. Place the main stems and the larger leaves. Flowers will overlap them, so they do not need tidy ends.
- Flower masses. Block in each bloom as its base shape in a mid value.
- Darker centers. Add the deeper color where petals meet and on the side turned away from the light.
- Lighter petal tips last. Finish with the palest strokes on the petals that catch the light.
Painting flowers before the background is the most common reason beginners struggle. You end up cutting around every petal with a small brush, and the edges turn stiff.
Mixing greens that look natural
Green straight from the tube is usually too bright and too even for foliage. Mix your own from blue and yellow, or adjust a tube green, and keep three versions on the palette.
- A dark green: sap green or a blue-and-yellow mix with a touch of crimson or burnt sienna. The red calms the green and makes it deeper without turning it black.
- A middle green: the same mix with more yellow.
- A light green: the middle green with yellow and a little titanium white.
Use the dark green for leaves tucked behind the flowers and the light one for leaves in front. Avoid darkening green with black alone, since it dulls the color quickly.
Two values keep petals from going flat
A flower painted in one color reads as a sticker. A flower with two values, a darker and a lighter version of the same color, reads as a form with petals turning toward and away from the light.
Mix the pair before you start. For a pink flower, the darker value might be magenta with a little white, and the lighter value mostly white with a touch of magenta. For a yellow flower, deepen the darker value with a little yellow ochre or burnt sienna rather than black, which turns yellow greenish.
White flowers follow the same rule in reverse. Paint them first in a pale gray-blue, then add pure titanium white only on the petals nearest the light. Remember that acrylics usually dry slightly darker than they look wet, so make the light value a little lighter than seems necessary.
When a flower goes wrong
Most problems have a quick fix, and nearly all of them start with letting the paint dry.
- Muddy petals: you worked wet paint over wet paint too many times. Let it dry, then restate the petals with fresh strokes.
- Stiff, identical petals: vary the length and the angle, and let a few overlap. Real flowers are uneven.
- A flower in the wrong place: paint over it with the background color, let that dry, and place it again.
- Streaky petals over a dark background: apply a second coat once the first is dry instead of pressing harder.
Where to practice next
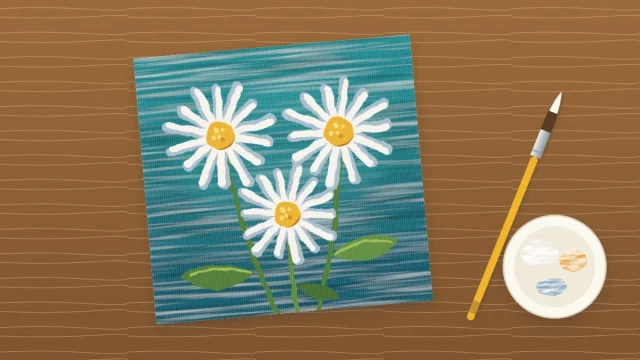
Disc flowers are the gentlest start. The petal-by-petal daisy tutorial uses the pulled stroke and the two-value method on three simple blooms.
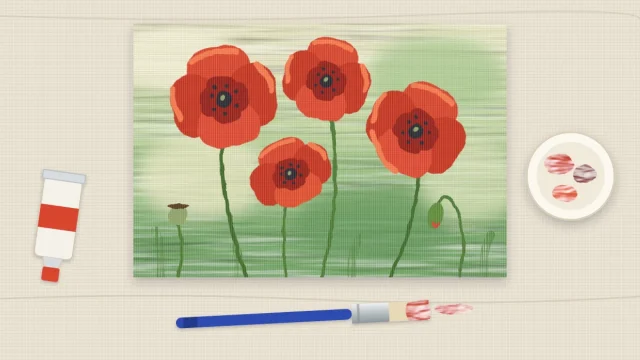
When you want something looser, the step-by-step poppy painting swaps neat petals for a few broad shapes and color worked in while the paint is still wet. Between the two you will have used nearly every stroke described here.
Frequently asked questions
What is the easiest flower to paint in acrylic?
Flat, disc-shaped flowers such as daisies are usually the easiest because every petal is the same simple stroke pulled toward the center. Tulips are a good second choice, since the whole bloom is one cup shape with only a few petal edges to suggest.
Which brush is best for painting flower petals?
A medium filbert is the most useful single brush for petals because its rounded tip leaves a soft petal end with a single pull. Add a small round for tiny petals and leaves, and a liner for stems and fine veins.
Should I paint the background or the flowers first?
Paint the background first and let it dry. Acrylic covers a dry layer well, so you can place leaves and flowers freely on top with relaxed strokes. Painting the background last forces you to cut carefully around every petal, which makes edges look stiff.