Brush Control Exercises: 8 Drills for Steadier Strokes
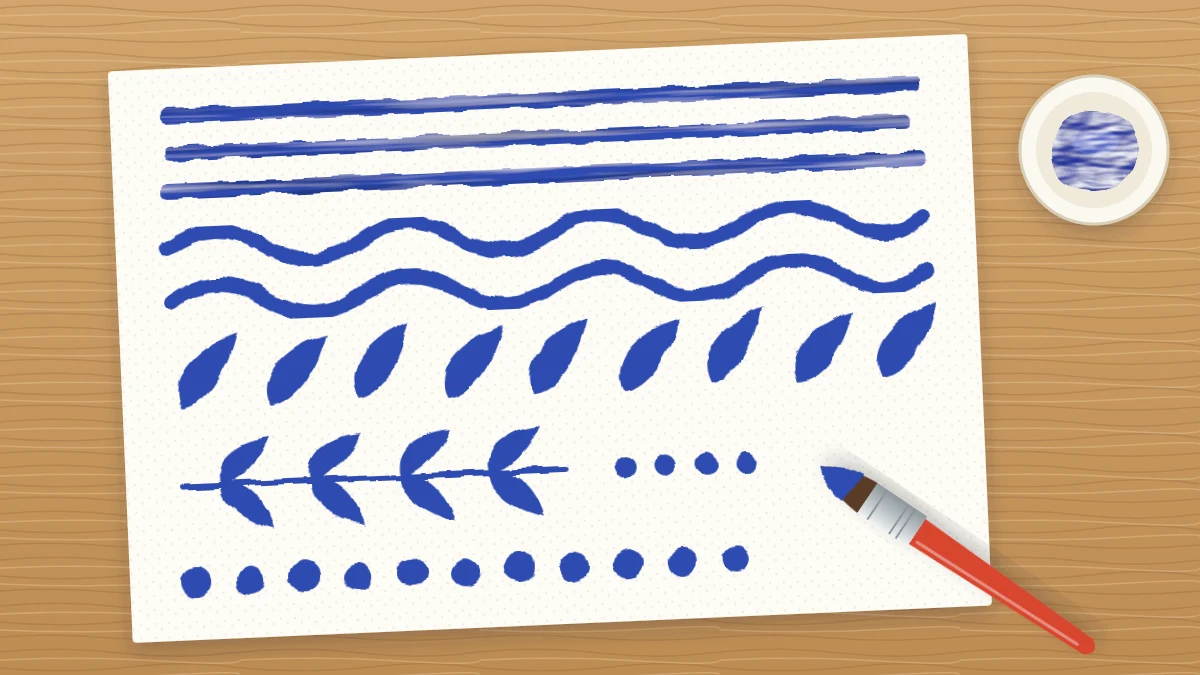
Eight short drills on cheap paper with a single color: straight lines, pressure strokes, curves, filled shapes, dots and long pulled lines, plus how to hold and load the brush.
At a glance
Brushes and materials
- 1/2 to 3/4 in flat brush
- Medium round brush
- Liner brush (optional)
- Palette and water jar
- Rag or paper towels
- Pencil
Wobbly lines and clumsy shapes are rarely a sign that you lack ability. They usually mean your hand has not yet learned how a loaded brush behaves: how far the bristles spread under pressure, how long a load of paint lasts and where the tip is pointing.
Brush control exercises fix that faster than finished paintings do, because each drill isolates one movement and lets you repeat it dozens of times in a few minutes. The eight below need cheap paper, one color and about a quarter of an hour.
What you need
- Inexpensive paper that can take water: acrylic paper, heavy mixed-media paper or the backs of old studies
- One dark color, such as ultramarine blue or primary red
- A flat brush about 1/2 to 3/4 in (12 to 20 mm) wide
- A medium round brush with a good point, and a liner if you have one
- A palette, a water jar, a rag and a pencil
If you are not sure which brush is which, the guide to brush shapes and the marks they make sorts them out.
How to hold the brush
There are two useful grips, and the drills use both.
- Near the ferrule, like a pencil. This gives the most control. The movement comes from your fingers and wrist, which suits small shapes, edges and short strokes.
- Further back on the handle, held loosely. This gives longer, looser marks. The movement comes from your elbow and shoulder, and the brush glides instead of digging in.
For extra steadiness, rest your little finger lightly on a dry part of the paper.
Loading the right amount of paint
Thin the paint with a few drops of water until it is creamy and flows off the brush without dripping. Dip about half the bristle length into the puddle, then stroke both sides of the brush on the palette so the paint sits inside the bristles and not as a blob on the outside.
Make one test stroke on scrap paper. A stroke that turns scratchy after an inch or two needs more paint or a touch more water. A stroke with a blob at the start and ridges along its sides is overloaded, so wipe one side of the brush on the palette edge.
Drills 1 to 4: lines and strokes
1. Parallel lines with a flat brush
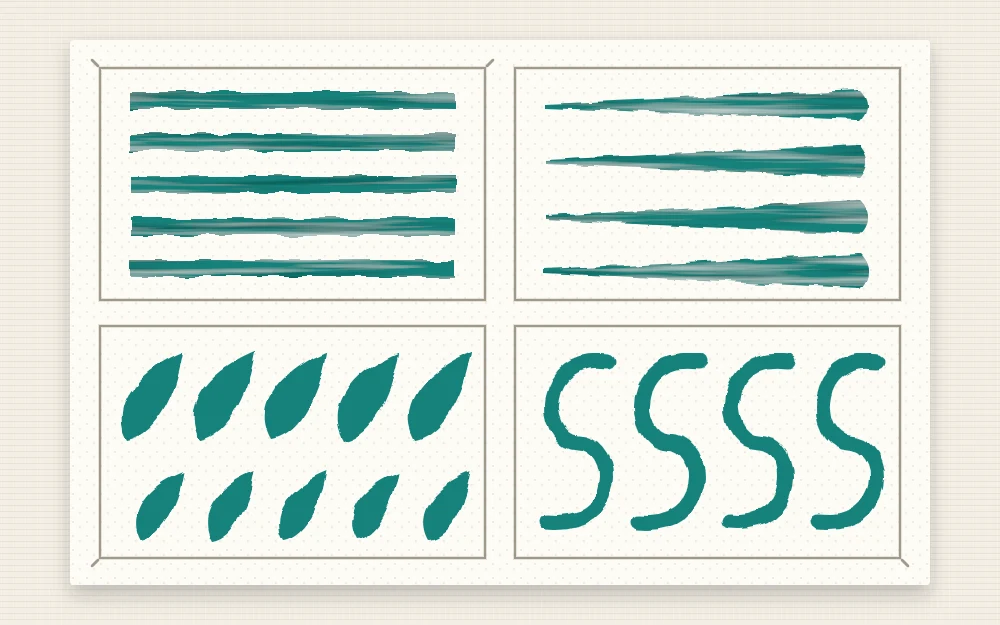
Hold the flat brush near the ferrule and pull a row of straight bands, each the full width of the brush, with an even gap between them. Then turn the brush onto its thin edge and pull a row of narrow lines. Aim for the same pressure from start to finish.
2. Thick-to-thin lines with a round brush
Start with only the tip of the round brush touching the paper, then press down gradually as you pull so the line swells, and lift again so it tapers. Do a full row, then reverse it: start wide and finish thin.
3. Press-and-lift leaf strokes
Touch the tip of the round brush down, press until the bristles spread to their widest, pull about 1 in (2.5 cm) and lift smoothly to a point. Each stroke makes one leaf shape. Paint a row of them, then try pairs along a pencil line as if it were a stem.
4. C and S curves
With the round brush held further back, paint a row of C shapes, then mirrored Cs, then S curves about 2 in (5 cm) tall. Move your whole hand, not just your fingers, and keep the line the same width throughout.
Drills 5 to 8: shapes, spacing and reach
5. Filling a circle and a square
Draw a circle and a square in pencil, each about 2 in (5 cm) across. Fill them with flat, even paint right up to the line without crossing it. Paint the outline first with the edge or tip of the brush, turning the paper if it helps, then fill the middle. The square trains corners and the circle trains a steady curve.
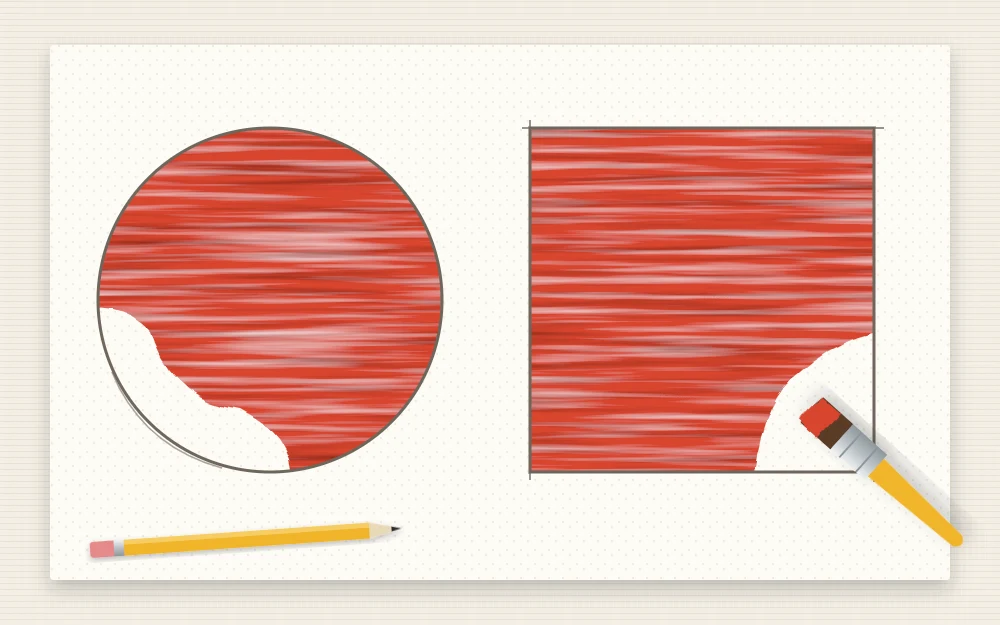
This drill is the foundation for tidy shapes in a real painting. When you want to take it further, the tutorial on painting crisp edges with a brush and tape builds directly on it.
6. Evenly spaced dots
Hold the round brush upright and touch only the tip to the paper to make a row of dots, all the same size and the same distance apart. Then make a second row where each dot just touches its neighbor. Reload before the dots start to shrink.
7. Crosshatching with a liner
Thin the paint a little more, to the consistency of heavy cream. With a liner, or the tip of a small round, pull a set of fine parallel lines, then cross them with a second set at an angle. Keep the lines thin and the spacing regular.
8. One long pulled line
Load the round brush well, hold it far back on the handle and pull a single line across the full width of the paper in one movement from the shoulder. Look at the point where you want to finish, not at the brush tip. Repeat down the page, keeping the lines parallel.
How long to practice
Ten to fifteen minutes is enough for all eight drills at a brisk pace, and short sessions several times a week do more than one long session a month. Stop when your hand tires, because a tense grip undoes the benefit.
Date each sheet and keep it. Comparing a sheet with one from a few weeks earlier shows progress that is hard to notice day to day. Once the drills feel familiar, use two or three of them as a warm-up inside a short regular practice routine.
When a drill goes wrong
- Lines wobble. You are probably moving too slowly and gripping too hard. Loosen your hand and pull the stroke a little faster.
- Lines fade out early. The paint is too thick or the load too small. Add a drop of water and reload more often.
- Leaf strokes have no point. You are lifting too abruptly. Keep the brush moving while you lift, and check that the round still comes to a point when wet.
- Paint crosses the pencil line. Use less paint near the edge and move the brush along the line instead of pushing toward it.
- Dots turn into blobs. There is too much paint on the tip. Touch the brush to the rag first.
Frequently asked questions
How often should I do brush control drills?
A short session three or four times a week works better than a long one now and then, because the skill is a matter of muscle memory. Ten minutes before you start a painting is a practical way to fit the drills in, and it warms up your hand at the same time.
Why are my brush lines shaky?
Shaky lines usually come from a tight grip, a slow stroke and movement from the fingers alone. Hold the brush more loosely, pull the stroke at a steady pace and let your wrist or whole arm move. Paint that is too thick also drags and exaggerates every small tremor, so thin it slightly.
Can I practice brush strokes with water instead of paint?
Water on paper lets you rehearse the movement, but it does not show how paint loads, runs out or builds ridges, and the marks disappear before you can compare them. A small amount of one inexpensive color on cheap paper gives you much more useful feedback for very little cost.

