
What You Need to Know About Growing Microgreens Without Soil
Microgreens without soil can be grown using several simple methods — no garden, no dirt, and no mess required.
The most common soilless growing methods are:
| Method | Best For | Difficulty |
|---|---|---|
| Grow mats (hemp, coir) | Most beginners | Easy |
| Paper towel method | Absolute beginners | Very easy |
| Kratky hydroponics | Faster yields, more control | Moderate |
| Perlite or vermiculite | Reusable setups | Easy |
| Plate method | Zero-equipment starts | Very easy |
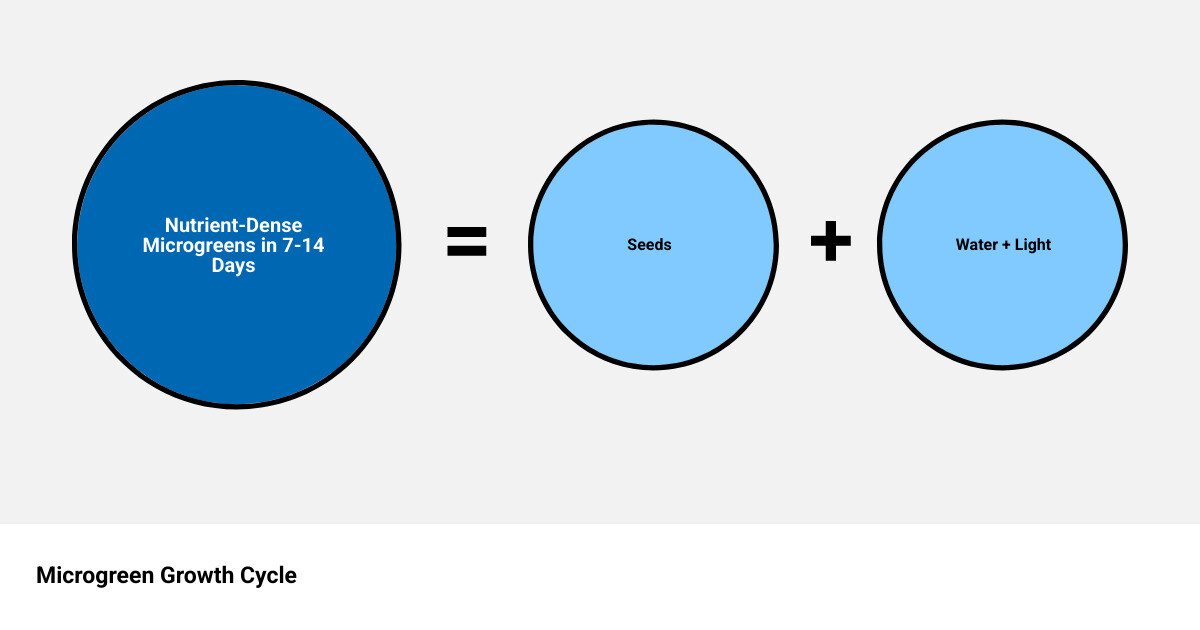
Most varieties are ready to harvest in 7-14 days, and you only need a tray, some seeds, and a light source to get started.
Soil is great for outdoor gardens. But in a kitchen or apartment, it’s heavy, messy, and can carry hidden bacteria and pests.
That’s why more home growers are skipping soil entirely. Soilless methods let you grow nutrient-packed greens on your countertop — faster, cleaner, and with up to 90% less water than traditional gardening.
The best part? Microgreens get most of their nutrition from the seed itself during their short growth cycle. That means soil isn’t actually doing much work here. A damp mat or paper towel is genuinely all they need.
Whether you have five minutes or a full afternoon, there’s a method in this guide that fits your space, budget, and schedule.
Relevant articles related to microgreens without soil:
Why Grow Microgreens Without Soil?
If you are looking for the ultimate “life hack” for your kitchen in April 2026, look no further than microgreens without soil. While traditional gardening has its charms, bringing bags of dirt into a small apartment or a clean kitchen isn’t always ideal.
One of the biggest drivers for soilless cultivation is efficiency. Research shows that soilless methods use up to 90% less water than traditional soil gardening. This is because moisture is delivered directly to the roots without being lost to the surrounding earth. Furthermore, growing hydroponically or on mats often results in a faster harvest cycle, sometimes beating soil-based growth by 2 to 3 days.
Then there is the nutrition factor. We all know veggies are good for us, but microgreens are overachievers. On average, they contain five times the nutritional content of their mature counterparts. For example, red cabbage microgreens pack 40 times more Vitamin C and 6 times more Vitamin E than a full-grown head of cabbage.
Finally, there is the issue of food safety. Soil can sometimes harbor pathogens like E. coli or Salmonella. By removing the dirt, you remove the primary source of these bacteria, making your “vegetable confetti” much safer to eat raw.
Comparison: Soil vs. Soilless Cultivation
| Feature | Soil-Based | Soilless (Hydro/Mats) |
|---|---|---|
| Mess Factor | High (dirt, dust, spills) | Low (water and mats only) |
| Water Usage | High (evaporation/drainage) | Very Low (90% less) |
| Growth Speed | Standard | Fast (up to 3 days quicker) |
| Risk of Pests | Higher (soil-borne insects) | Minimal |
| Setup Cost | Low | Low to Moderate |
| Safety | Risk of soil pathogens | Cleaner, sterile mediums |
Essential Supplies for Your Soilless Setup
You don’t need a degree in botany to start your indoor farm, but having the right gear makes a world of difference. To get started with microgreens without soil, we recommend gathering a few essentials.
- Trays: The industry standard is the 10×20 tray. For soilless growing, you usually want a “mesh bottom” tray that sits inside a solid “reservoir” tray. This allows for bottom watering, which keeps the leaves dry and prevents mold.
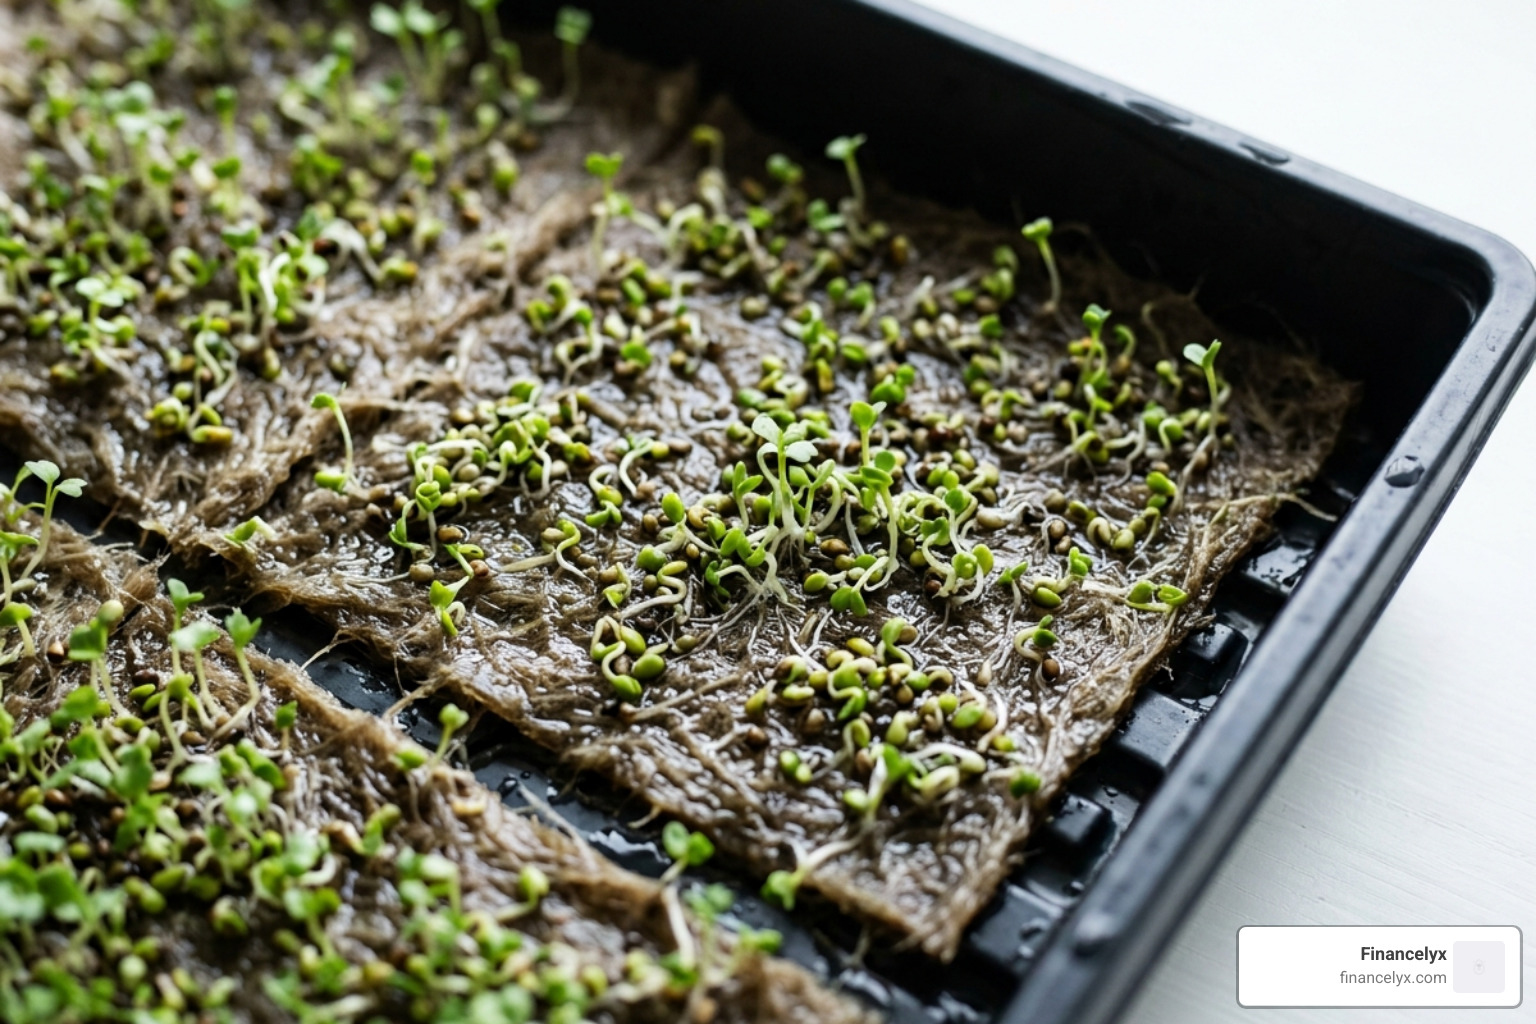
- Grow Medium: Instead of soil, you’ll use hemp mats, coconut coir, or even simple paper towels.
- Lighting: While a sunny windowsill works for some, LED grow lights provide the consistent 12–16 hours of light needed for sturdy, upright stems.
- Water & Nutrients: You’ll need a spray bottle for misting and potentially a nutrient solution like MaxiGro. Since microgreens are harvested so young, they often don’t need fertilizer, but a diluted solution can boost yields.
- pH Kit: For the best results, keep your water pH between 5.5 and 6.5. This is the “sweet spot” where plants can most easily absorb nutrients.
If you’re worried about the cost, don’t be. You can find many of these items in a Choosing The Best Microgreen Fertilizer For Soil And Hydroponics guide to ensure you aren’t overspending on unnecessary chemicals.

Top Methods for Growing Microgreens Without Soil
There are several ways to skip the dirt, ranging from professional-grade setups to “I found this in my kitchen” methods.
Hydroponics and the Kratky Method
The Kratky method is a passive hydroponic technique that is essentially “set it and forget it.” The roots of the microgreens dangle into a nutrient-rich water solution. As the plants drink, the water level drops, creating an air space that allows the roots to breathe oxygen. It’s clean, efficient, and produces incredibly lush greens.
Growing Mats
If you want the easiest transition from soil, use biodegradable mats. These are made from materials like hemp, jute, or wood fiber. They fit perfectly into your trays, hold moisture like a sponge, and can be tossed into the compost bin after harvest.
The Paper Towel and Plate Methods
Are you a skeptic? Try the plate method. All you need is a dinner plate, a few layers of unscented paper towels, and some seeds (chia works great here). It’s a zero-cost way to see if you enjoy the process. Simply keep the paper towel damp, and you’ll have greens in less than a week.
Coconut Coir and Perlite
While these look a bit like soil, they are actually inert “aggregates.” Coconut coir is made from husks, and perlite is a volcanic glass. They provide excellent drainage and root support without the “dirtiness” of traditional potting mix.
Best Varieties for Microgreens Without Soil
Not all seeds are created equal when it comes to soilless life. Some varieties thrive in high-moisture environments, while others might struggle to anchor their roots. Here are our top picks:
- Broccoli: The gold standard for beginners. It’s fast, reliable, and incredibly healthy. Check out The Ultimate Guide To Growing Broccoli Microgreens Without Soil for a deep dive.
- Radish: These are the speed demons of the microgreen world. You can often harvest them in just 6-7 days. They have a spicy kick that’s perfect for tacos.
- Sunflower: These produce thick, crunchy shoots that taste like nutty lettuce. They do require a bit more attention (and a soak), but the flavor is worth it.
- Pea Shoots: If you want something that feels like a “real” vegetable, pea shoots are it. They are sturdy and sweet. Learn more in our guide to hydroponic pea shoots.
- Chia: These are fun because they develop a “gel” when wet, making them perfect for the plate method.
Step-by-Step Guide to Growing Microgreens Without Soil
Ready to start? Let’s walk through the process of growing microgreens without soil from start to finish. We’ve designed this to be as mess-free as possible.
Preparation and Sanitation
Before you touch a single seed, make sure your equipment is clean. Wash your trays with hot, soapy water or a very diluted bleach solution (10%). This prevents “damping off,” a fungal disease that can kill a whole tray of babies in one night.
If you’re looking for a budget-friendly way to start, read The Dirt Cheap Guide To Diy Microgreens for tips on repurposing household items.
Step 1: Seed Soaking
Large seeds like sunflower, peas, and beets have a thick outer shell. To wake them up, soak them in filtered water for 8 to 12 hours. Smaller seeds like broccoli or radish don’t need this—you can just add water once they are in the tray.
Step 2: Sowing Density
This is where most beginners fail. You want to sow your seeds thickly—think of it like a living carpet. For a 10×20 tray, you might use 1-2 tablespoons of small seeds or 3-4 ounces of large seeds. Spread them evenly across your damp growing mat or paper towel.
Step 3: The Blackout Period
Once sown, cover your tray with another tray (flipped upside down) or a piece of cardboard. This creates a dark, humid environment that mimics being underground. For varieties like sunflower, you can even place a weight (like a brick) on top to help the roots push down firmly into the medium.
Step 4: Germination and Light Transition
After 2 to 4 days, your seeds will have sprouted into pale, “leggy” little stems. This is the signal to remove the cover and introduce light. Move them to a windowsill or under your LED grow lights. Within 24 hours, they will turn a vibrant green as they begin photosynthesis.
Step 5: Maintenance
Maintain a room temperature between 60-75°F. Give them 12-16 hours of light daily. If you’re using a tray system, keep about a quarter-inch of water in the bottom reservoir so the roots can drink as needed.
Maintenance and Troubleshooting Tips
Growing microgreens without soil is generally easy, but you are managing a tiny ecosystem on your counter. Things can go sideways if you aren’t careful.
Watering Wisdom
The biggest mistake is overwatering from the top. This traps moisture in the “canopy” (the leaves), which leads to mold. Instead, use the bottom watering technique. Pour water into the bottom tray and let the growing mat wick it up.
Mold vs. Root Hairs
Don’t panic! If you see fuzzy white stuff around the roots, it might not be mold. Microgreens grow “root hairs” to help them absorb moisture. These look like fine, white silk and are perfectly healthy. Mold, on the other hand, looks like a spiderweb or gray slime and usually smells “off.”
Troubleshooting Common Issues
- Leggy Growth: If your stems are long, thin, and falling over, they need more light. Move your grow light closer (about 6-12 inches above the tray).
- Slow Growth: This is often due to cold temperatures. Microgreens love a cozy 65-75°F environment.
- Yellow Leaves: This could be a pH issue or a lack of nutrients. Check your water pH and consider adding a tiny bit of hydroponic fertilizer.
Harvesting and Using Your Homegrown Greens
The moment of truth arrives between day 5 and day 14. You’ll know they are ready when the “true leaves” (the second set of leaves) just begin to appear, or when the greens reach about 2-3 inches in height.
The Harvest Process
Use a pair of clean, sharp scissors. Grasp a small clump of greens and snip them about half an inch above the growing medium. Since there is no soil, your greens should be perfectly clean! There is no need for a vigorous wash, which can actually make them wilt faster.
Storage and Safety
If you aren’t eating them immediately, store them in the fridge. Place them in an airtight container or a reusable bag with a dry paper towel to absorb any excess moisture. They will typically stay fresh for 5 to 10 days.
Pro Tip: Always harvest what you need right before eating to get the maximum “crunch” and nutrient density.
Culinary Inspiration
Microgreens aren’t just a garnish; they are a functional food.
- Avocado Toast: Top with radish microgreens for a peppery crunch.
- Smoothies: Toss in a handful of broccoli microgreens—you won’t even taste them, but your body will thank you for the sulforaphane boost.
- Sandwiches: Use pea shoots instead of boring iceberg lettuce.
- Winter Salads: Since you can grow these year-round, they are the perfect way to get fresh “garden” flavors in the middle of January.
Frequently Asked Questions about Soilless Microgreens
Can microgreens be grown without soil year-round?
Absolutely! In fact, winter is our favorite time to grow them. Because they live entirely indoors, they aren’t affected by the frost or snow outside. As long as your kitchen stays above 60°F and you have a light source, you can have a continuous harvest from January to December.
Do microgreens regrow after harvesting?
Generally, no. Most microgreens are “one and done.” Once you snip the stem, the plant doesn’t have enough energy or leaves left to regenerate. Peas are the exception—if you leave the bottom leaf node intact, you might get a small second harvest, but it’s usually more efficient to just start a new tray.
What is the difference between microgreens and sprouts?
This is a common point of confusion. Sprouts are grown in water and harvested within 3-5 days. You eat the whole thing: seed, root, and stem. Microgreens are grown for 7-14 days until they develop leaves. You only eat the stem and leaves, leaving the roots behind. Microgreens are generally considered safer and more flavorful than sprouts.
Conclusion
At Financelyx, we believe that healthy eating shouldn’t be a chore or a mess. Growing microgreens without soil is the perfect entry point for anyone interested in urban farming or sustainable gardening. As Elena Monroe often says, “The freshest food is the food you grow three feet from your plate.”
By skipping the soil, you’re choosing a method that is cleaner, faster, and uses 90% less water. Whether you start with a simple plate of chia seeds or a full-scale hydroponic rack, the result is the same: delicious, nutrient-dense greens that elevate every meal.
Ready to dive deeper into indoor gardening? Check out more info about growing tips and start your first soilless tray today. Happy growing!
